About Roles
Member Wizard provides a means for you to be able to limit the data that various users in your Organisation see when logged in.
In addition, you can limit the access given under a particular menu category. This is useful from a privacy and security perspective.
The way this is managed is by associating a particular User with a Role and to have that Role limited to a subset of your data.
For instance, the Treasurer Role may have permission to see and edit everything under the menu category of Money, see but not edit anything under the menu item of Members but not to be able to edit or see anything under the menu category of Communications. Alternatively your Membership Secretary may be able to see everything under the menu category of Members and Communication but not to edit anything under the menu item of Money even though they can see the data entered there.
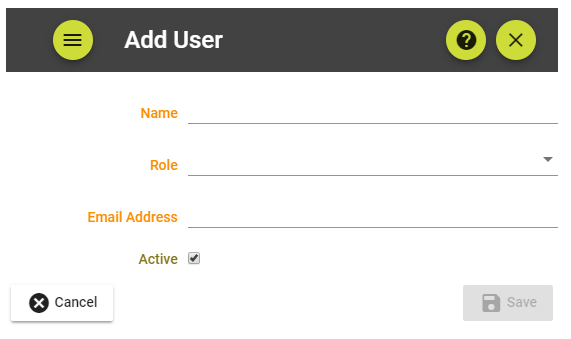
So before Adding a New User to your organisation's system you firstly need to ensure that you have considered the level of access to data that you want the new user to have and ensure that you have a Role already created for them to have allocated to them.
Note: Users with Full Member Access will be able to also receipt members from the Member List. They do not require Money access in order to do this.
Creating a new Role - the User Manager
There is only one role which can create new users in your database - that of User Manager. You can not create a User Manager, each organisaton can only have one. You can however change the User Manager by clicking User Management/Change User Manager and selecting a new User Manager from the list of available Users. Once this is saved your role will revert to that of Administrator.
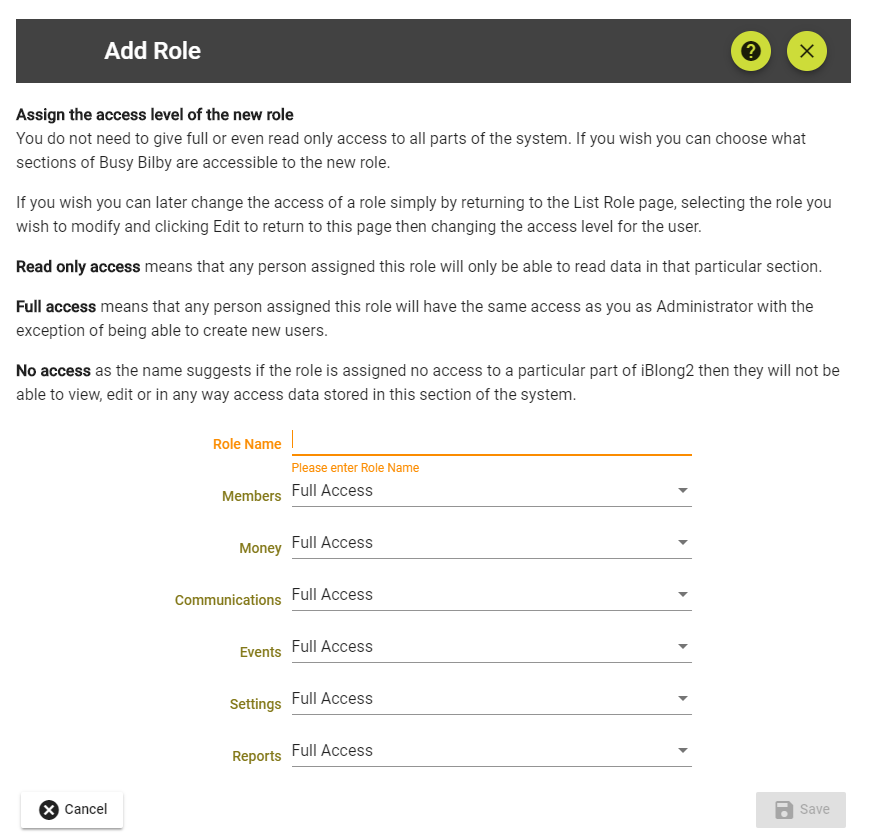
To create a new Role click the Add button on the User Management, Roles page.
Firstly give your Role a name then select each of the areas listed and nominate a level of access to each. The options are No Access - new Role will not see anything in this area, Full Access - new Role will be able to see, create and edit anything in this area, or, Read Only - the new Role will be able to see but not edit or create anything in this area.
When you have finished each category, click the Save button.
Creating a New User