Creating an Email Template
Email templates are useful for adding regularly used items to an email body rather than sending as an attachment. They are very useful for instance in providing a templated layout for a newsletter, or a signature at the bottom of an email. You may wish to create an Meeting Agenda template for sending out standardised Agendas.There are many uses. Samples for these are provided in your list of existing templates which you can either edit to suit your requirements or create from scratch yourself.
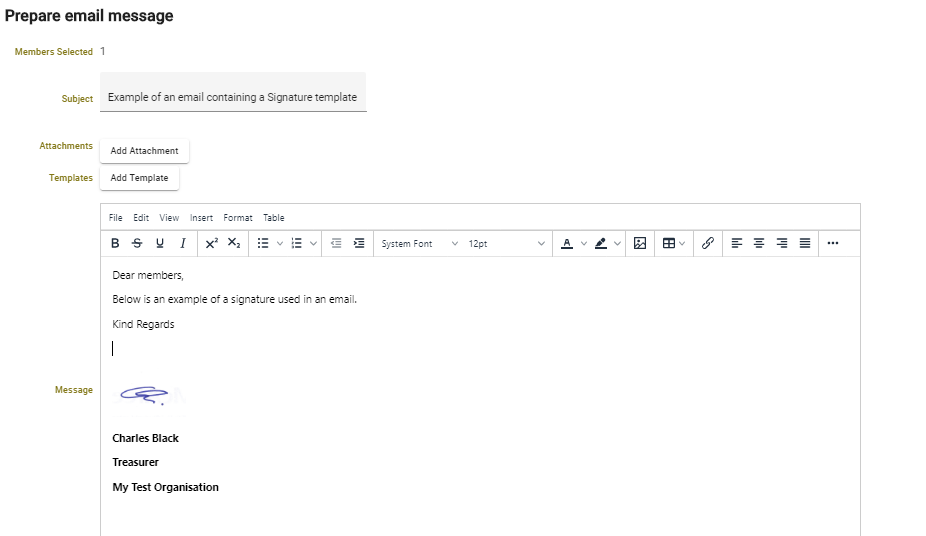
The template you create can then be added to the body of any email you send where it will appear below your cursor on the Edit Email form. So for instance to insert your signature into any email you would firstly create it, then when preparing an email to send you would type your email out then select Add Template by clicking the button above the email body copy and selecting it from the list of created Templates.
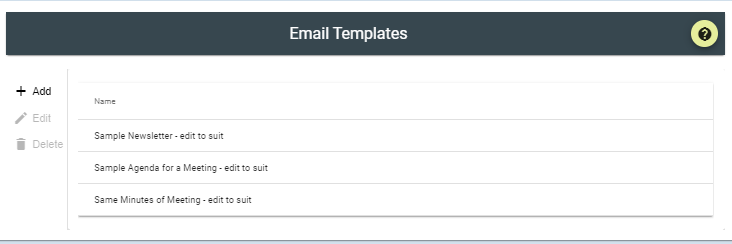
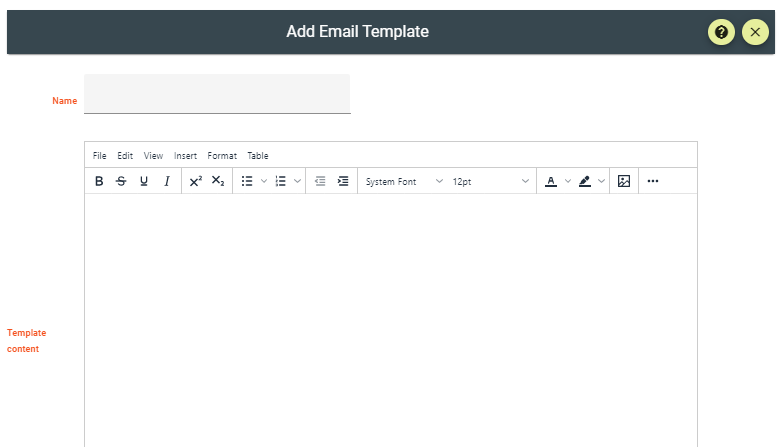
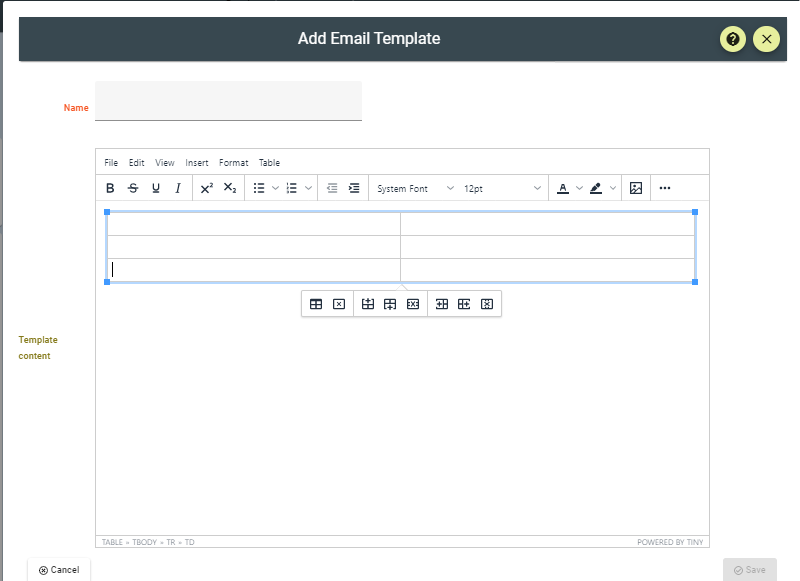
Click Add + in the Communication/Templates/Email Templates form.
Adding Images to a Template
You can add images to your template by firstly placing your cursor where you wish the image to be inserted then selecting Insert/Image from the toolbar.
To use an image in your newsletter or other template you firstly need to upload or save it on your computer at a location where you can find it.
Select Upload image from the Insert/edit image dialogue box and browse for the location of your saved image and select it. Click Save.
Creating and saving an email signature
You can create a saved email signature simply by creating a 1 row x 1 column table template and typing the text into it that you wish to include in your signature with appropriate line breaks and styling as required. Just remember not to call it Signature when you save the template as all templates are available to all users of your system so include your role as well eg TreasurerSignature in the template name to avoid confusion.
Adding a Table to a Template
Tables are used where you want to align text eg a Newsletter story item with an image which relates to that story
Tables have rows (horizontal aligned) and columns (vertically aligned). A table with one row and one column is still a table.
Typically you would type your newsletter story in the first column in a row and insert an image in the second column of the row. Alternatively if you wish to run your story in two blocks you could type the first block of text in the first column of a row and the second block in the second column.
To set up the header row with the name of your organisation and the date of the newsletter you firstly set up a 2 row x 1 column table. Then to create the actual newsletter you can either continue like this with the news story appearing in the first row and any pictures in the second row or you can insert a 1 row x 2 column table and have the story on the left and the image on the right. The first can be better for mobile phone viewing.
You find the tool to insert a table in the Insert/table tool bar item. Simply highlight the number of columns and rows you wish to include in your table.
You can have as many rows and columns as you require. You can also have a number of tables running one after the other down the screen. In this way you can change the alignment of text and images.
Remember when you are creating the Email Template you do not enter the story/images you only make the containers in which to place them (rows and columns). In the example given I have simply added text and pictures to illustrate how these will appear when you insert them into your email. When you actually prepare the email and use the template you would replace these with the stories and pictures relevent to the particular newsletter.
In the example below, there is a newsletter with 3 tables on it.
The first table has 1 column and 1 rows and the example shown contains an image for the logo of the organisation and the organisation name and identifies it as a Newsletter. It has had a black border and a Light Gray background applied to it.
The second table immediately below it has 1 row and 1 column and contains the Date and the number of the Newsletter.
Both these tables have had the text set as Centered.
The third table immediately below the above two contains 2 rows and 2 columns with the left hand column of each row containing the text of a story and the right hand column containing an image.
Once you have your Email Template for a Newsletter you can insert it into any email you wish. Then add the text and images that you wish to include. To find the tools to configure your table select the first icon in the row which appears below your table when you click within it then select Advanced called Table Properties.

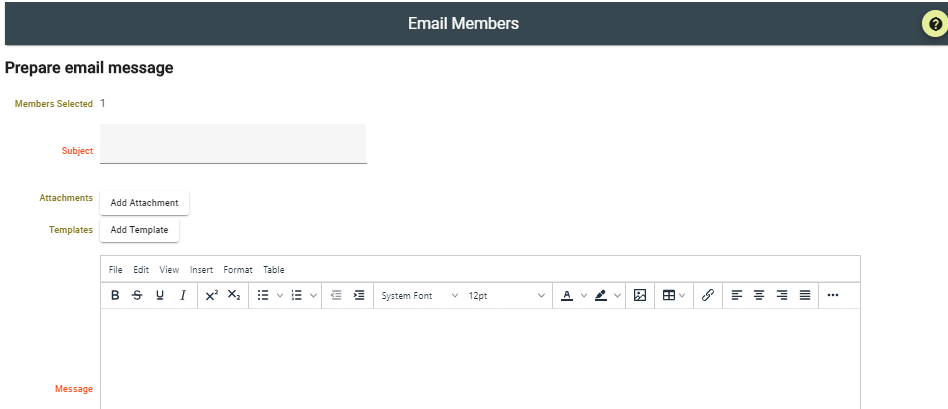
In order to use a template start the process of sending out an email to whoever you wish to receive it by selecting the recipients in the usual manner under Communications/Email members.
You will notice there is a button called Add Template. Click this and select the template you wish to use from the list of Templates you have previously created.
The template will be inserted below your cursor in the Message section of the email. You can then edit this as appropriate for your requirements and then Send as usual.